Pylinting with PyCharm
Kiran Koduru • May 6, 2017 • 1 minutes to read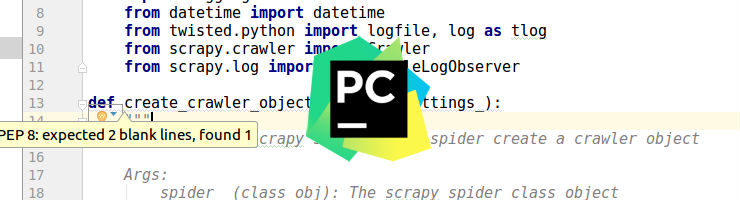
If you have worked with PyCharm, you will have noticed the inspections plugin which performs static analysis on your code is very effective in finding PEP-8 errors. But it fails in some places and can be replaced by pylint. This tutorial will guide you through a step by step walkthrough of setting up pylint in PyCharm.
1. Locate your pylint installation
To find out where is pylint on most unix OS you can type the following in your command line.
$ which pylint
/usr/local/bin/pylint
If you don’t have pylint installed then try the command abover after installing pylint via pip 
$ pip install pylint
2. Open External tools in PyCharm
You can find the External Tools options from the
- File -> Settings
- Typing External Tools in the search bar
or
- Pressing
Ctrl+Alt+Son your keyboard - Typing External Tools in the search bar
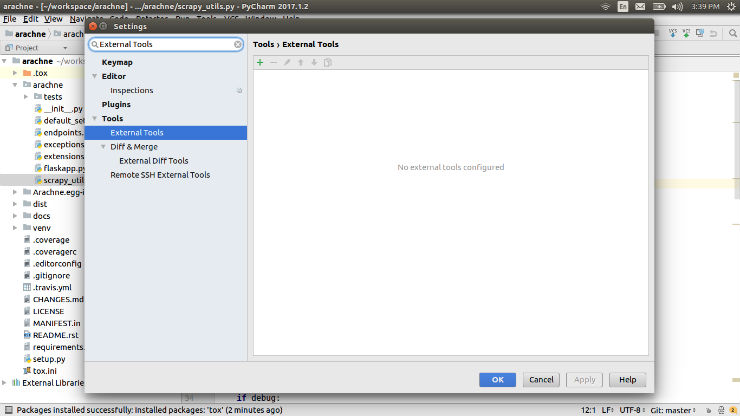
You can read more about External Tools here.
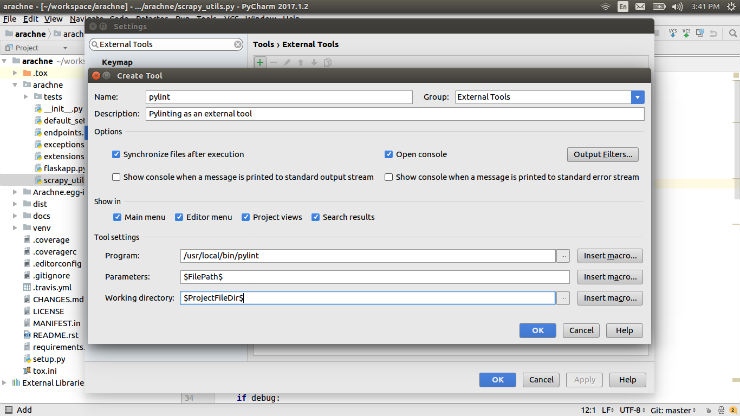
3. Setup External Tools
Click the + icon in the External Tools window and configure using the following information. Make sure that Program value is set to the output from Step 1.
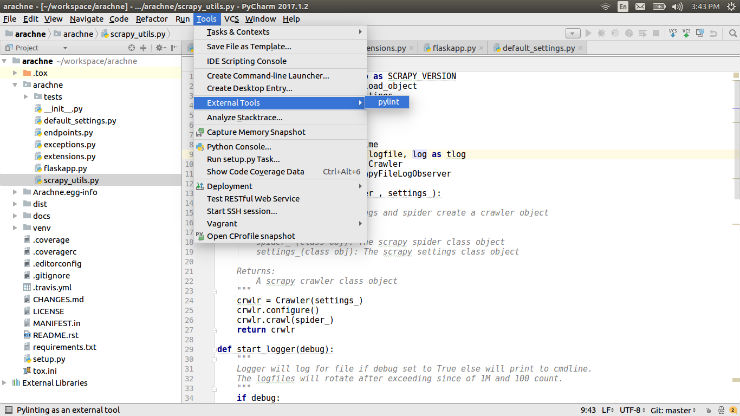
4. Finally run pylint
Run pylint from External Tools via Tools -> External Tools -> pylint dropdown.
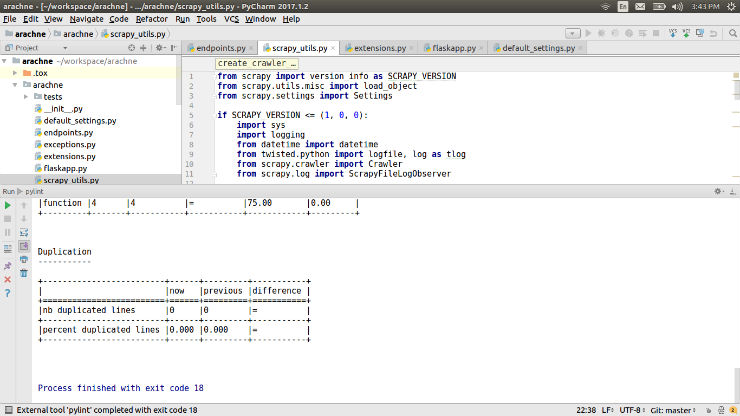
5. View your output in PyCharm console
After your run from Step 4, you can view your pylint score in your PyCharm console.
Though this tutorial isn’t a complete replacement for your inspections plugin, I hope this helps you get started with pylint on PyCharm. I would definitely like to hear your thoughts and opinions on how to pipe the output from our setup to PyCharm inspections plugin.
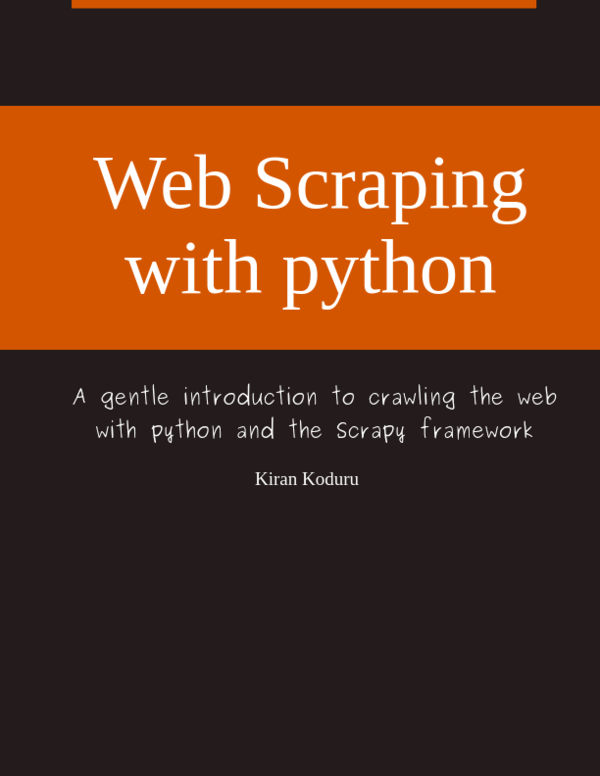
I am writing a book!
While I do appreciate you reading my blog posts, I would like to draw your attention to another project of mine. I have slowly begun to write a book on how to build web scrapers with python. I go over topics on how to start with scrapy and end with building large scale automated scraping systems.
If you are looking to build web scrapers at scale or just receiving more anecdotes on python then please signup to the email list below.